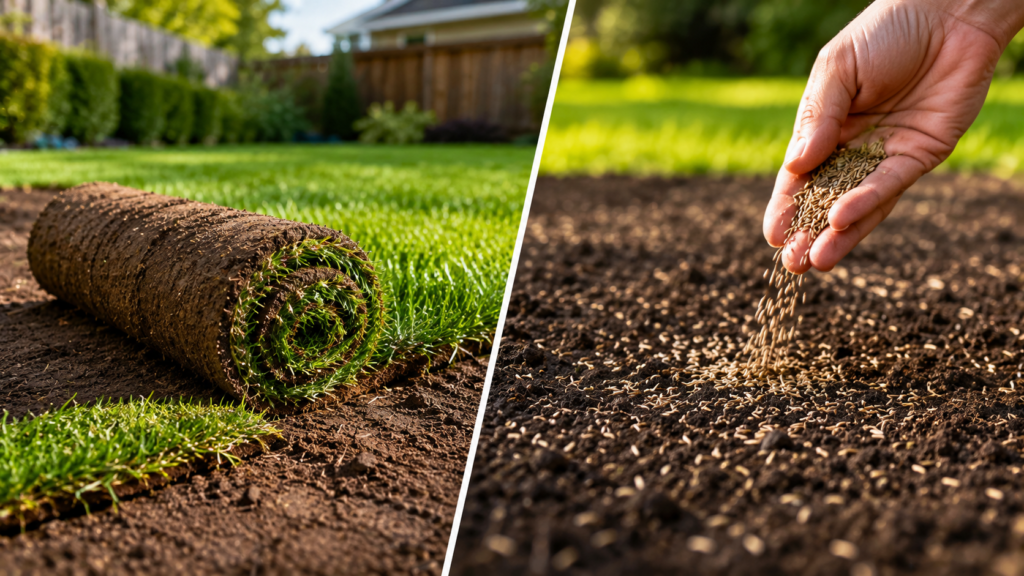
Buffalo winters are hard on grass.
Between the salt runoff, the compacted snow, and the freeze-thaw cycles that heave up bare patches every spring, a lot of Western New York lawns just never bounce back on their own.
That’s usually when we get the call. If you’re looking into how to lay sod for the first time, the process is more forgiving than most homeowners expect, but the details matter. Skip a step, and you’ll be staring at brown seams by July.
Once you understand how to lay sod the right way, this guide walks through the whole process, from prepping the soil to that nerve-wracking first mow.
We’ll cover what actually makes new lawn sod take root versus what makes it curl up and die in the driveway before you even get it down.
Why Proper Prep Makes or Breaks New Sod
Sod isn’t magic.
It’s a living plant with a shallow root mat, and that mat needs direct, consistent contact with soil to survive the transplant. Lay it over rocky, compacted, or uneven ground, and you’ll get gaps where roots can’t reach moisture. Those gaps turn into dead spots within a couple of weeks.
Most of the failures we see aren’t from bad sod. They’re from skipped prep. A homeowner rolls out fresh grass over old, thatchy turf or hard clay, waters it once, and wonders why half of it turned yellow. The soil work is the part that actually determines whether this project succeeds, not the laying itself.
Soil Prep: The Step Everyone Wants to Skip
Start by killing or removing whatever’s currently growing there.
If it’s an old lawn full of weeds, spray it down or strip it with a sod cutter about two weeks before your new sod arrives. Don’t just till weeds into the soil, since they’ll come right back up through your new grass.
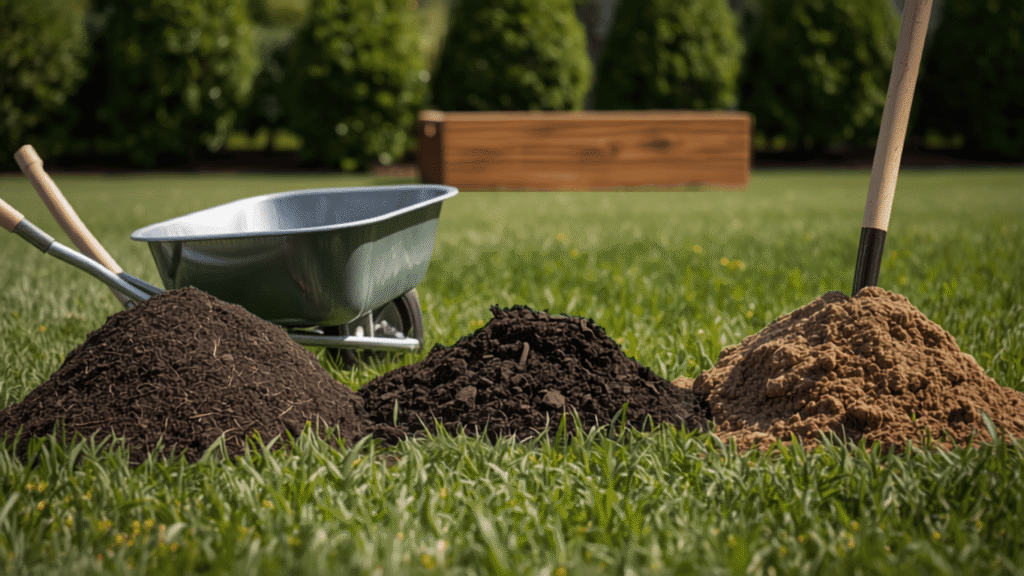
Once the area’s clear, till the top four to six inches of soil.
This breaks up compaction and gives roots something to grab onto instead of a hard crust. If your yard has heavy clay, which is common in a lot of older Buffalo neighborhoods, work in a couple inches of compost or topsoil while you’re tilling. Sandy, fast-draining soil benefits from the same treatment, just to help it hold moisture.
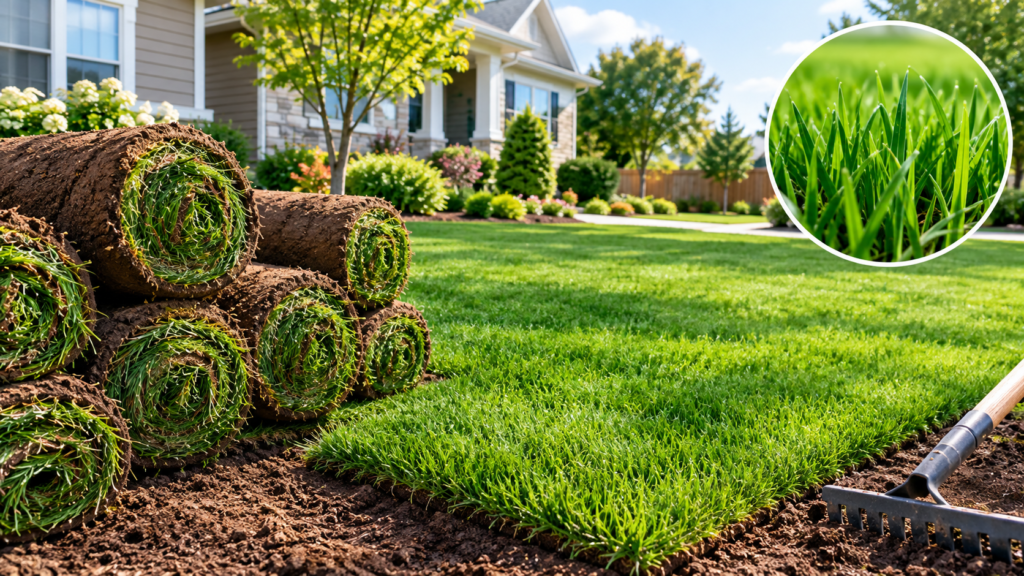
Grade the area so water runs away from your foundation, not toward it. A slope of about one inch per four feet is plenty. Rake it smooth, remove rocks and debris bigger than an inch or so, and then run a lawn roller over it to firm things up without compacting it hard again. You want a surface that’s firm but still has some give when you press a foot into it.
Last step before delivery day: a light application of starter fertilizer, worked into the top inch of soil. This gives roots something to feed on right away instead of waiting on the lawn’s existing nutrient levels to catch up.
Measuring & Ordering: Get the Numbers Right the First Time
This is where a lot of first-time DIY jobs go sideways before the sod even shows up. Measure your yard in sections rather than trying to eyeball the whole lot at once. Break irregular shapes into rectangles and triangles, calculate the square footage of each, and add them together.
Once you’ve got your total square footage, add 5 to 10 percent for waste. You’ll be trimming pieces to fit around walkways, garden beds, and tree wells, and those cut scraps rarely get reused efficiently. Underordering means a delivery delay while you wait on more pallets, and by then your first batch may already be drying out on the driveway.
If you’re searching“sod near me for sale“ and comparing suppliers, ask about the grass variety before you commit. Buffalo’s climate calls for cool-season varieties like Kentucky bluegrass or tall fescue blends.
These handle our winters and shoulder-season temperature swings far better than warm-season grasses that are really built for southern climates. Also confirm the harvest date. Sod that’s been sitting on a pallet for more than 24 to 36 hours starts losing viability fast, especially in warm weather.
Laying Sod: The Pattern That Actually Matters
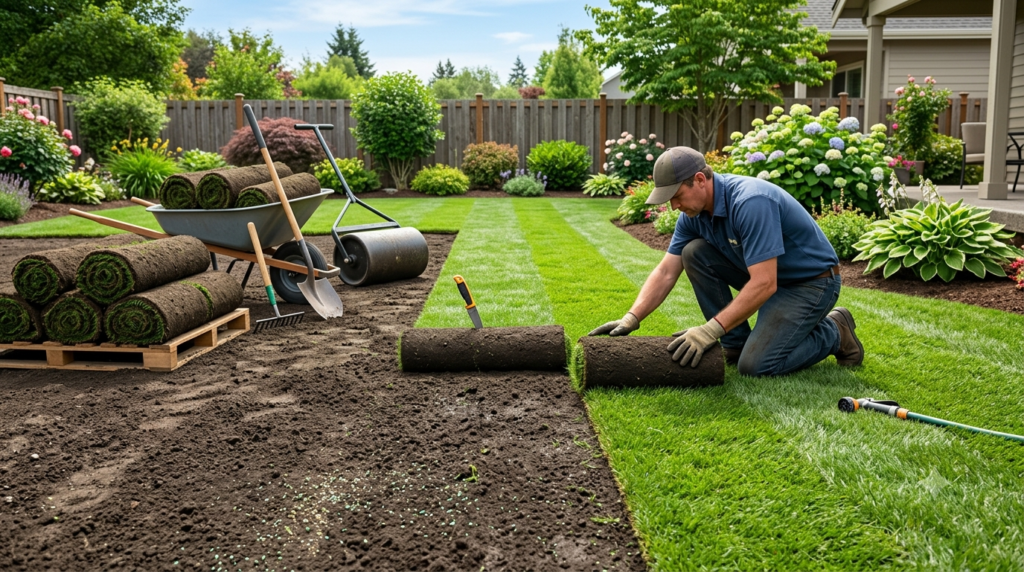
Here’s where knowing how to lay sod correctly saves you from redoing sections a month later. Start along the longest straight edge of your yard, usually a driveway or sidewalk, and work outward from there.
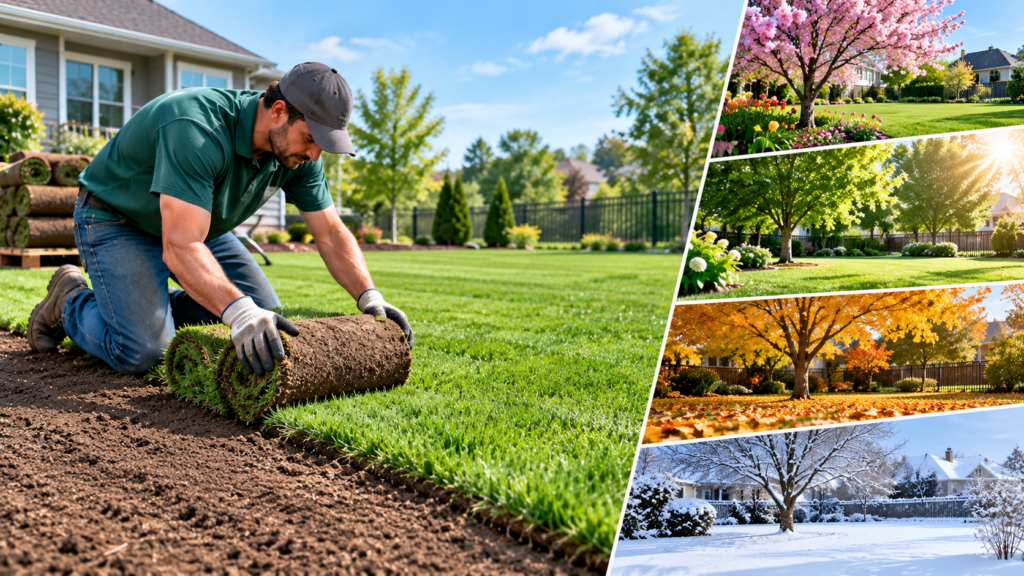
Lay the first row tight against that edge with no gaps between pieces. Butt each piece snugly against the next without overlapping or stretching it. Stretched sod shrinks as it dries, and that leaves visible seams once the lawn fills in.
Knowing how to install sod in a staggered pattern matters here.
For the second row, offset the seams like you’re laying bricks so the joints don’t line up row to row. This staggered pattern keeps water from channeling straight down a seam line and washing out the soil underneath. It also holds together better under foot traffic while the roots are still establishing.
Use a sharp utility knife or a half-moon edger to trim pieces around curves, beds, and obstacles rather than forcing a full piece to bend. On slopes steeper than about a 3-to-1 grade, stake the sod down with biodegradable pegs so it doesn’t slide before it roots in.
Work in sections and don’t let cut edges dry out while you finish the rest of the yard. If you’ve got a large area, it helps to have the next section’s soil already prepped and ready so freshly cut sod isn’t sitting exposed in the sun any longer than necessary.
Watering-In: The First Two Weeks Decide Everything
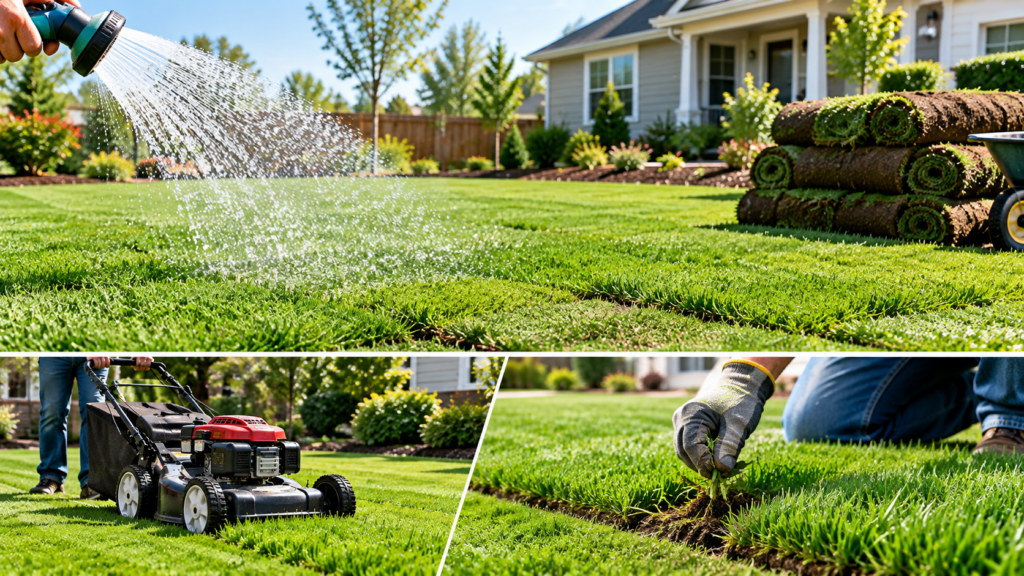
New sod needs water immediately, within 30 minutes of being laid if possible. The first watering should be deep enough to soak through the sod and into the soil beneath it, not just wet the surface. Lift a corner after watering to check; the soil underneath should be moist, not just the grass blades.
For the first week to ten days, water once or twice daily, enough to keep the root zone consistently moist without pooling. Early morning and late afternoon work well. Avoid watering in the heat of the day when a lot evaporates before it reaches the roots, and avoid heavy evening watering that leaves the grass wet overnight, which invites fungal issues.
After about ten days to two weeks, start tapering to every other day, then eventually to a normal watering schedule as the roots knit into the soil below. You’ll know it’s rooting when you tug gently on a corner, and it resists rather than lifting freely.
First Mow: Timing It Right
Wait until the sod has rooted before the first cut, usually 10 to 14 days after installation depending on weather. Test it the same way you tested rooting for watering: give it a gentle tug. If it holds firm, it’s ready.
Set your mower blade higher than usual for the first few cuts, around 3 to 3.5 inches, and make sure the blade is sharp. A dull blade tears the still-fragile grass instead of cutting it cleanly, which stresses the new roots more than the mowing itself does. Skip bagging clippings for the first couple mows; a light layer breaks down and returns some nutrients to the soil.
Common Mistakes That Kill New Sod
We see the same handful of mistakes over and over. Laying sod on unprepared, compacted soil is the biggest one, but it’s not the only one.
Watering too little in the first week is a close second. New sod dries out fast, especially on hot, windy days, and once the root mat dries past a certain point, it doesn’t come back.
Letting sod sit rolled up on pallets too long before installing is another common issue. Heat builds up inside those rolls and can cook the grass within a day or two.
Mowing too soon or too short stresses roots that haven’t established yet. And skipping the starter fertilizer step means new roots are working harder than they need to for the nutrients they need to establish.
A Simple Monthly Routine Once It’s Established
Once your new lawn sod has rooted in through the first full growing season, keep the routine simple. Water deeply but less frequently to encourage roots to grow downward instead of staying near the surface.
Mow regularly, never removing more than a third of the blade height at once. Fertilize on a normal seasonal schedule and keep foot traffic light for the first month or so while the root system fills in.
When to Call in a Landscaping Professional
Some sod jobs are straightforward enough for a motivated homeowner with a weekend to spare, and this guide covers what our crew at Soil and Seed Landscaping walks clients through on those jobs.
But a few situations call for bringing in help. Large areas, more than a few thousand square feet, get physically demanding fast and are hard to keep on schedule solo, since delays between prep and installation hurt sod quality.
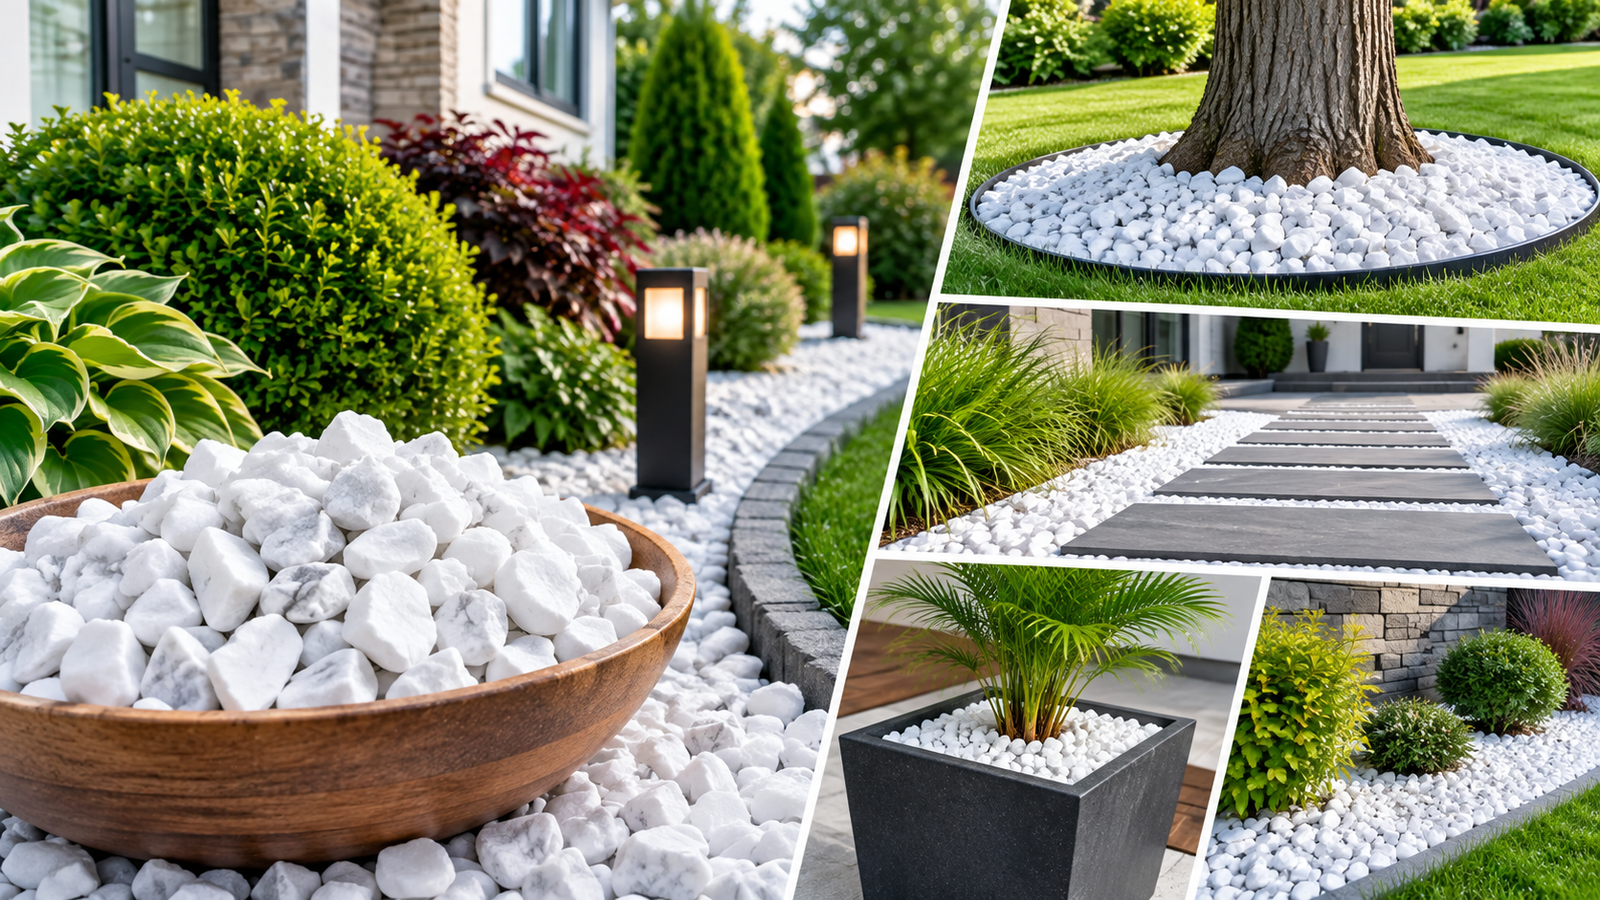
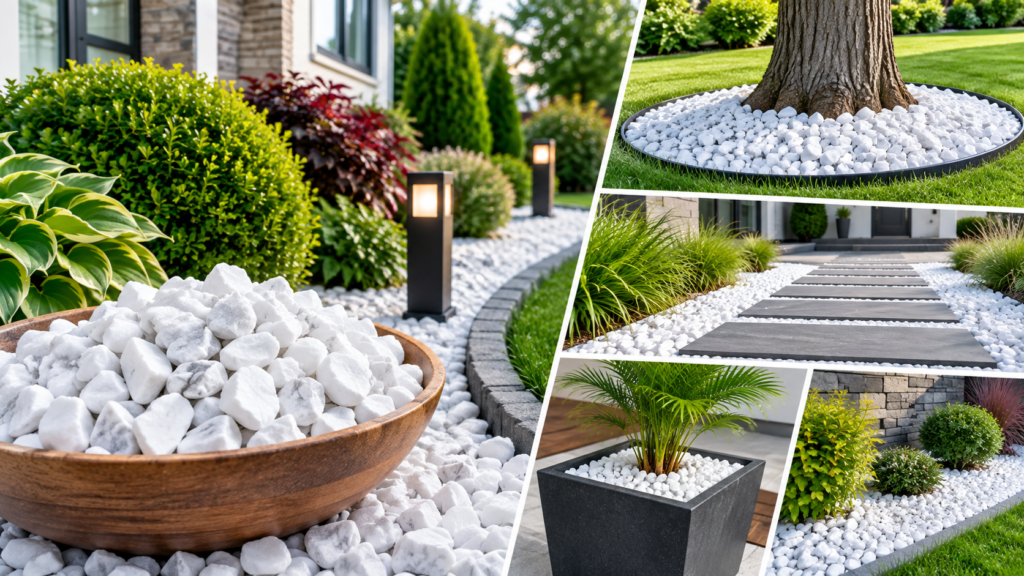
White Marble Chips: Uses, Pros, Cons & Design Ideas
Explore practical uses for white marble chips in garden beds, walkways, borders, drainage areas, and decorative landscapes. Learn about their appearance, durability, maintenance needs, advantages, drawbacks, and design considerations for creating an attractive outdoor space.
Continue Reading →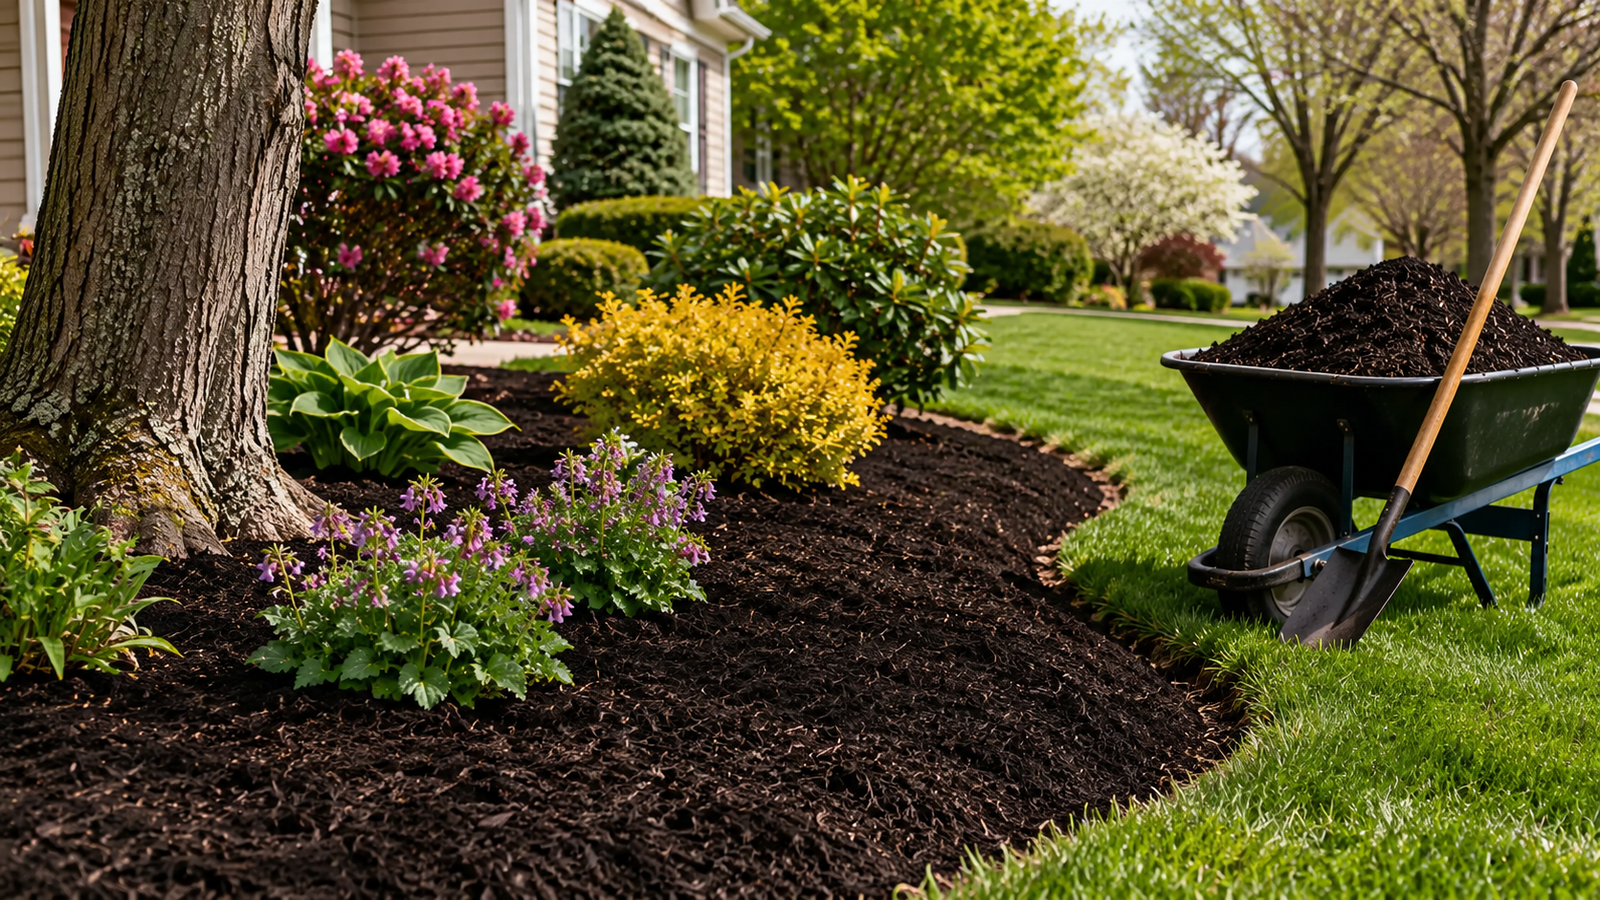
When & How Often Should You Mulch in Western New York?
Learn when to apply mulch in Western New York and how often landscape beds typically need refreshing. Discover seasonal timing, recommended mulch depths, refresh methods, and practical tips for conserving moisture, controlling weeds, protecting plant roots, and maintaining healthy garden beds.
Continue Reading →Steep or uneven grading, drainage problems, or soil that needs significant amendment before it’ll support healthy turf are also good reasons to call a pro.
At Soil and Seed Landscaping, we handle everything from grading and soil prep through delivery and installation, which takes the guesswork out of timing and keeps the sod fresh from pallet to ground. If your yard has drainage issues, heavy clay, or you’re just not sure where to start, it’s worth a conversation with Soil and Seed Landscaping before you order pallets.
FAQs
How long does it take for new sod to root?
Most sod roots enough to handle light foot traffic within 10 to 14 days under good watering conditions. Full establishment, where roots have grown deep enough to handle drought stress, typically takes three to four weeks depending on grass type, soil, and weather during installation.
What time of year is best for laying sod in Buffalo?
Early fall and mid-spring are ideal. Cooler temperatures and steadier rainfall reduce heat stress on new roots. Summer installations are possible but require much more careful watering, and late-season installs risk not rooting before the first hard freeze.
Can I lay sod over an existing lawn?
No. Old grass and thatch block root contact with soil beneath. Remove or kill the existing lawn first, then till the soil, before laying new sod. Skipping this step is one of the most common reasons new sod fails to establish properly.
How much does new lawn sod cost compared to seeding?
Sod costs more upfront than seed, but it gives you a usable lawn almost immediately instead of waiting weeks for germination. It also resists erosion and weeds better during establishment, which matters a lot on sloped or high-traffic yards.
Do I need to fertilize sod right after installation?
Yes, a light starter fertilizer worked into the soil before installation helps roots establish faster. Avoid regular lawn fertilizer for the first few weeks; it’s formulated for established grass and can stress new roots instead of helping them.
Why are the seams in my sod still visible after a month?
Visible seams usually mean the pieces were stretched during installation or watered inconsistently. Stretched sod shrinks as it dries and pulls apart at the joints. Consistent watering and gentle tamping during installation prevent most seam issues.
Can I walk on new sod while it’s rooting?
Light foot traffic is fine after the first week if the sod has begun rooting. Avoid heavy use, pets, or equipment for at least three to four weeks. Waiting until roots are established prevents the sod from shifting or tearing.